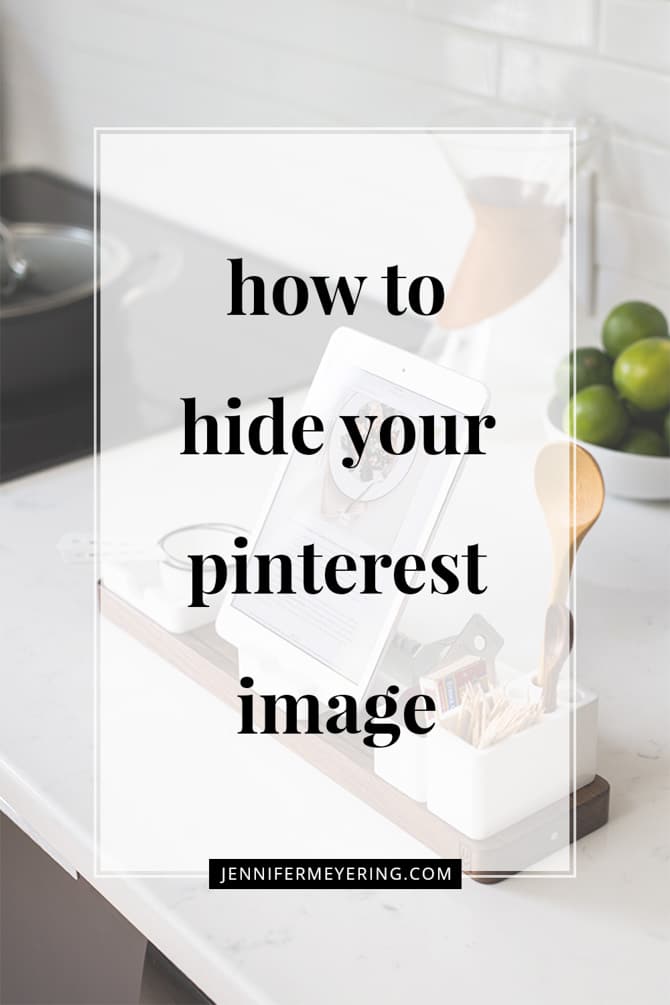
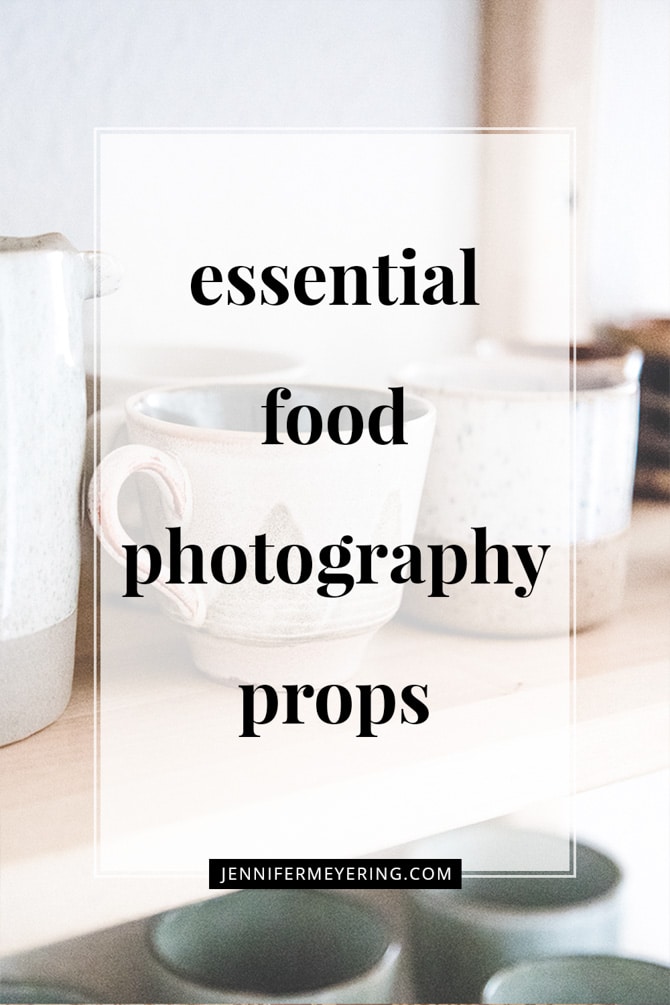
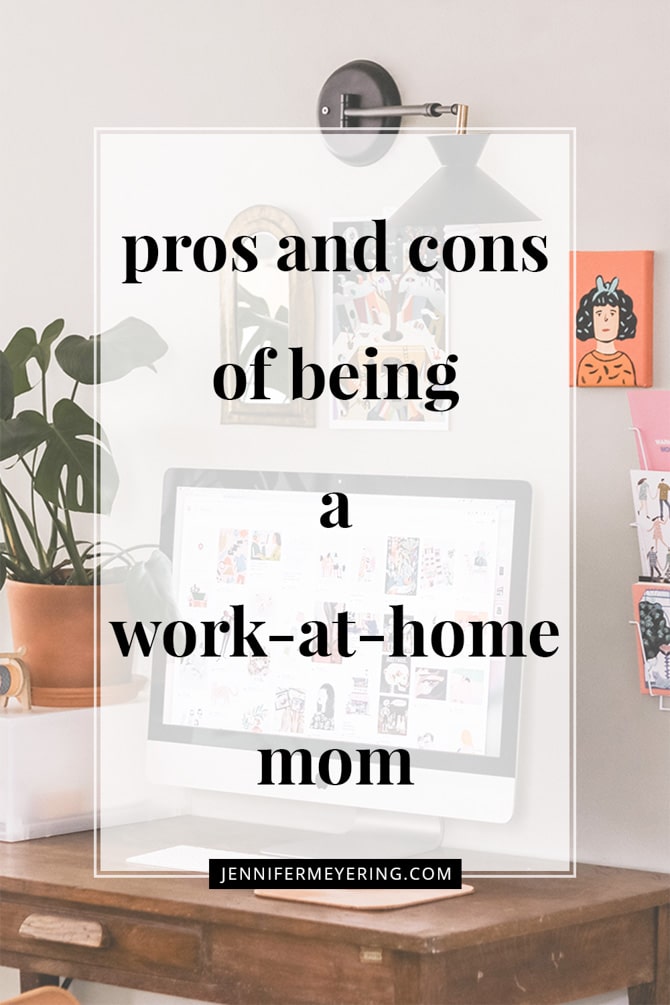
One of the “new” and big things on Pinterest are collage pins or what some people call “long pins.” They are usually made up of a few of the images from your blog post along with the title of the post added somewhere.
I remember when I first started seeing these long collage pins a few years ago. They were sweet to see but most of the time they were a pin done by someone other than the original blogger in an attempt to add a “step-by-step how-to” and drive traffic to their blog using other people’s images. No bueno. Fortunately, bloggers and pinners became aware of this and the massive amount of re-pins they were getting (whether linking to the original source or not) and began making their own long collage pins.
Related Post: How to Set Up Pinterest Rich Pins so people know your image is actually linking to your own blog and it’s not someone trying to scrape your content.
The good thing about long collage pins is that they take up more visual space which, in turn, makes them more noticeable to people on Pinterest. Many people have done tests on these images and have found that these pins actually have a higher number of re-pins and drive more traffic than their shorter counterparts and horizontal images, i.e., the image below…
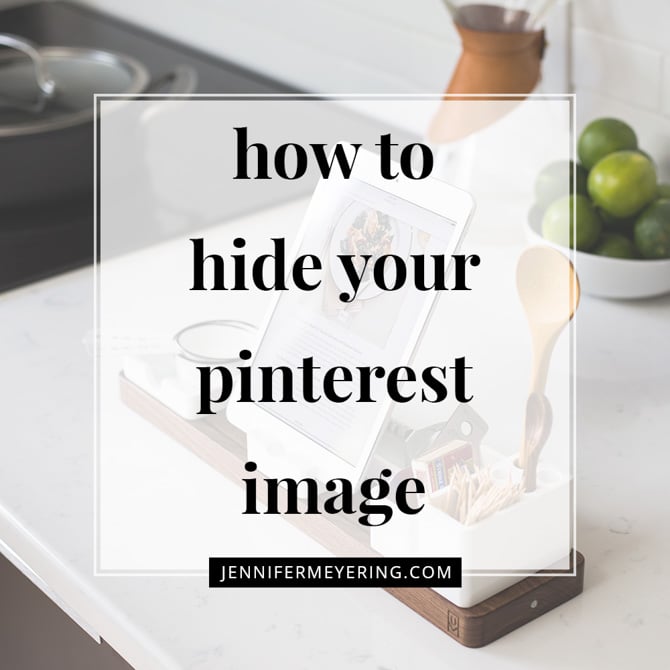
I’ve noticed that many people usually just upload the long pin directly to Pinterest and then add the source link accordingly. However, I don’t just want the image on Pinterest, I want people who visit my blog to be able to pin them as well when using any of the share buttons or their own browser Pin It button. This leaves for a problem because the long pins are usually 2000px or more in length which then takes up a huge amount of space in the blog post that doesn’t necessarily add to your reading experience. It can also appear like there’s too much content and long pins force the reader to scroll further down in order to reach the other things they want, like sharing buttons, comment forms, related posts, etc.
So what do we do?
We hide them! With a little CSS coding.
Don’t worry… it’s super easy and takes .2 second to set up and then you can sit back and add all the long pins you want without them showing up in your blog posts (unless you want them to!).
First:
Open up your theme’s style.css… navigate to Appearance >> Editor and then click on style.css… and add the code below to the very bottom of the style sheet and save.
If you have a seperate custom CSS stylesheet that you use, add this there instead so it won’t be overridden when you update your theme.
.hidden-pinterest {
opacity: 0;
position: absolute;
top: 0;
left: 0;
height: 0px;
width: 0px;
}
Second:
Make your collage using Photoshop, PicMonkey, or your favorite photo editing tool. Make sure that when you make the image it is at least 600px wide and about 2000px tall. The collages I make are usually 665px by 2250px, which is enough room for 2 4×6 images and some text about the post right in the center.
Here are a few examples: One | Two | Three
Also, even if you don’t want to create a long collage pin you can still hide any image that you would like people to pin with this technique.
Third:
Upload your image just as you would when creating a new blog post. When crafting your post, make sure that you add your long pin (or the image you want people to pin) to the bottom because that image will then appear first when people click their Pin It button.
Fourth:
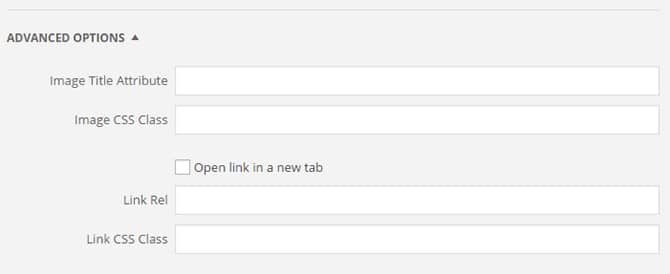
Add the HTML class “hidden-pinterest” to the image you want to hide by clicking on the image in the post editor and clicking on the little pencil icon.

Then click on advanced options and you’ll see a place for the Image CSS class. Add your custom class “hidden-pinterest” there without the quotations.
You can also accomplish this by clicking on the “Text” tab in your post editor and adding the CSS manually to your <img> tag.
For example:
<img class="hidden-pinterest aligncenter wp-image-403376 size-full" src="https://jennifermeyering.com/wp-content/uploads/2015/06/how-to-hide-your-pinterest-image-jennifer-meyering.jpg" alt="How to Add a Hidden Pinnable Image for Pinterest" width="1000" height="1268" />That’s it!
Now to update any images you want to, all you have to do is add the custom class to the <img> tag and the image will be hidden from regular view. There is no need to re-add the CSS unless you update your theme or the CSS is over-ridden somehow.
Want to see it in action? Go ahead and click the Pinterest button below and you’ll see my hidden image appear first!
Related Post: create a GIF in Photoshop with your images for your readers to pin!
If you have any questions, leave them in the comments below and I’ll be happy to answer them!
I hope this post helped you with creating your hidden Pinterest image. If it did, please share using any of the share buttons below and be sure to check out my other tips and tricks in the box below or by clicking the resources tab at the top of the page!
PS: Want people to see the images in your RSS feed when it goes to subscribers on your email list? Check out this post on how to add images to your RSS feeds!

